You’ve written songs that feel ready, but every time you try to record them, the results don’t sound like what’s in your head. The vocals feel buried, the mix falls flat, and you’re left wondering what’s missing.
Here’s the truth: learning how to record a demo isn’t about expensive gear or complicated software. It’s about knowing how to plan, prepare, and capture your sound in a way that feels true to what’s in your head. When you get the process down, your music starts to speak for itself, and that’s when people start listening.
What Is a Demo?
A demo is an introduction to your music. It’s like a musical handshake by way of the first time someone hears what you sound like. While not a finished record or an album, it’s a snapshot of your sound, style, and songwriting.
It’s like a creative business card when you’re trying to get signed by a record label. Your demo shows bookers, producers, and other musicians what you bring to the table. It proves you can write, perform, and record with intent.
When you learn how to record a demo, you’re learning how to present your music clearly and confidently. It gives listeners a reason to want more.
History of the Demo
Before home studios and laptops, recording a demo meant saving up for time in a local studio. Demos evolved from reel-to-reel tapes in the 1960s, progressing to cassette tapes in the 1970s. Bands would track a few songs on tape to hand out at shows or send to record labels. Those early demos were raw, gritty, and sometimes recorded in a single take, but that’s what made them powerful.
As technology evolved, so did accessibility. Four-tracks, then digital recorders, and now laptop software have made it possible for any artist to record from home. What once required industry connections now just takes creativity and a little know-how.
Learning how to record a demo today means you have control. You decide when, where, and how your music gets heard, and we’re here to help you along the way.
Demos vs. Master Recordings
 A demo and a master recording serve two very different purposes. Understanding them each will help you take your sound to the next level. Take a look:
Demo
A demo captures the essence of your song, including the melody, lyrics, and feel. It’s meant to showcase potential, not perfection. It’s a sketch of what could be, the first version that introduces your sound to the world, not the final product from a recording studio.
Master Recordings
A master recording, on the other hand, is the final product. It’s been professionally mixed, mastered, and produced in a recording studio for release. Every note is intentional, and every frequency is balanced. It’s ready for streaming, radio, or vinyl.
When you understand how to record a demo, you’re setting the stage for that next level. The stronger your demo, the easier it is to build a master that truly shines.
Why Are Demos Important?
Demos are your bridge between ideas and opportunity. They turn your songs from something you play in your room into something you can share with others. A demo says, “This is who I am as an artist,” and opens doors to gigs, collaborations, and label interest.
They also help you grow. Recording a demo forces you to hear your music from the outside, exposing what works and what doesn’t. You’ll catch timing issues, lyric tweaks, or spots that need more energy.
Learning how to record a demo is part of becoming a stronger musician. It’s how you shape your sound and show you’re serious about your craft.
How To Create a Demo in 7 Easy Steps
 Creating a demo isn’t rocket science. Once you understand the basics, the process becomes creative and fun. You don’t need a full studio or a degree in sound engineering. You just need a few tools, a plan, and patience.
Our seven steps are easy to follow and break down how to record a demo from start to finish. You’ll learn how to set up your gear, track clean audio, compare takes, and build a mix that sounds balanced and professional. By the end, you’ll have a demo that captures your sound and shows exactly what you’re capable of, and we can’t wait to hear it.
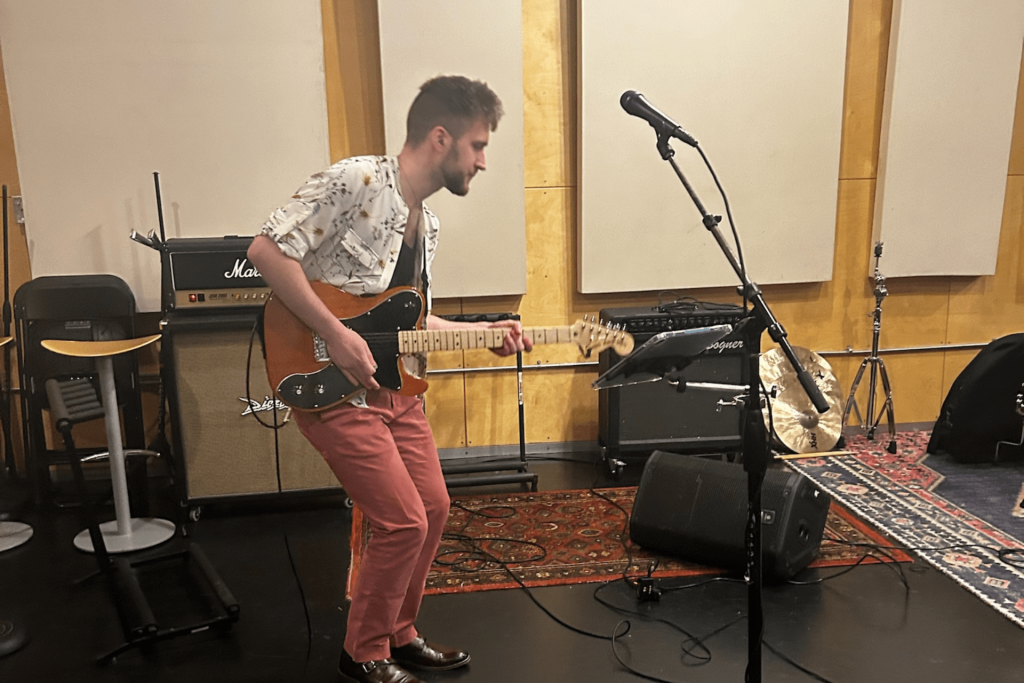
Step #1: Prep Your Songs
Before you ever hit record, spend time tightening your songs. Work through lyrics, finalize arrangements, and practice until every section feels natural. This prep stage saves hours of frustration later.
Knowing your parts inside and out allows you to focus on capturing emotion instead of fixing mistakes. A strong demo starts long before the mic turns on. It starts with confidence in your songs.
Step #2: Equipment
You don’t need a wall of gear to sound good. Start with a reliable mic, an audio interface, quality headphones, and a stable computer. Set up in a quiet, treated corner. If you’re on a budget, don’t stress. Keep in mind that clean recordings come from a smart setup, not price tags. Upgrade later when your needs grow.
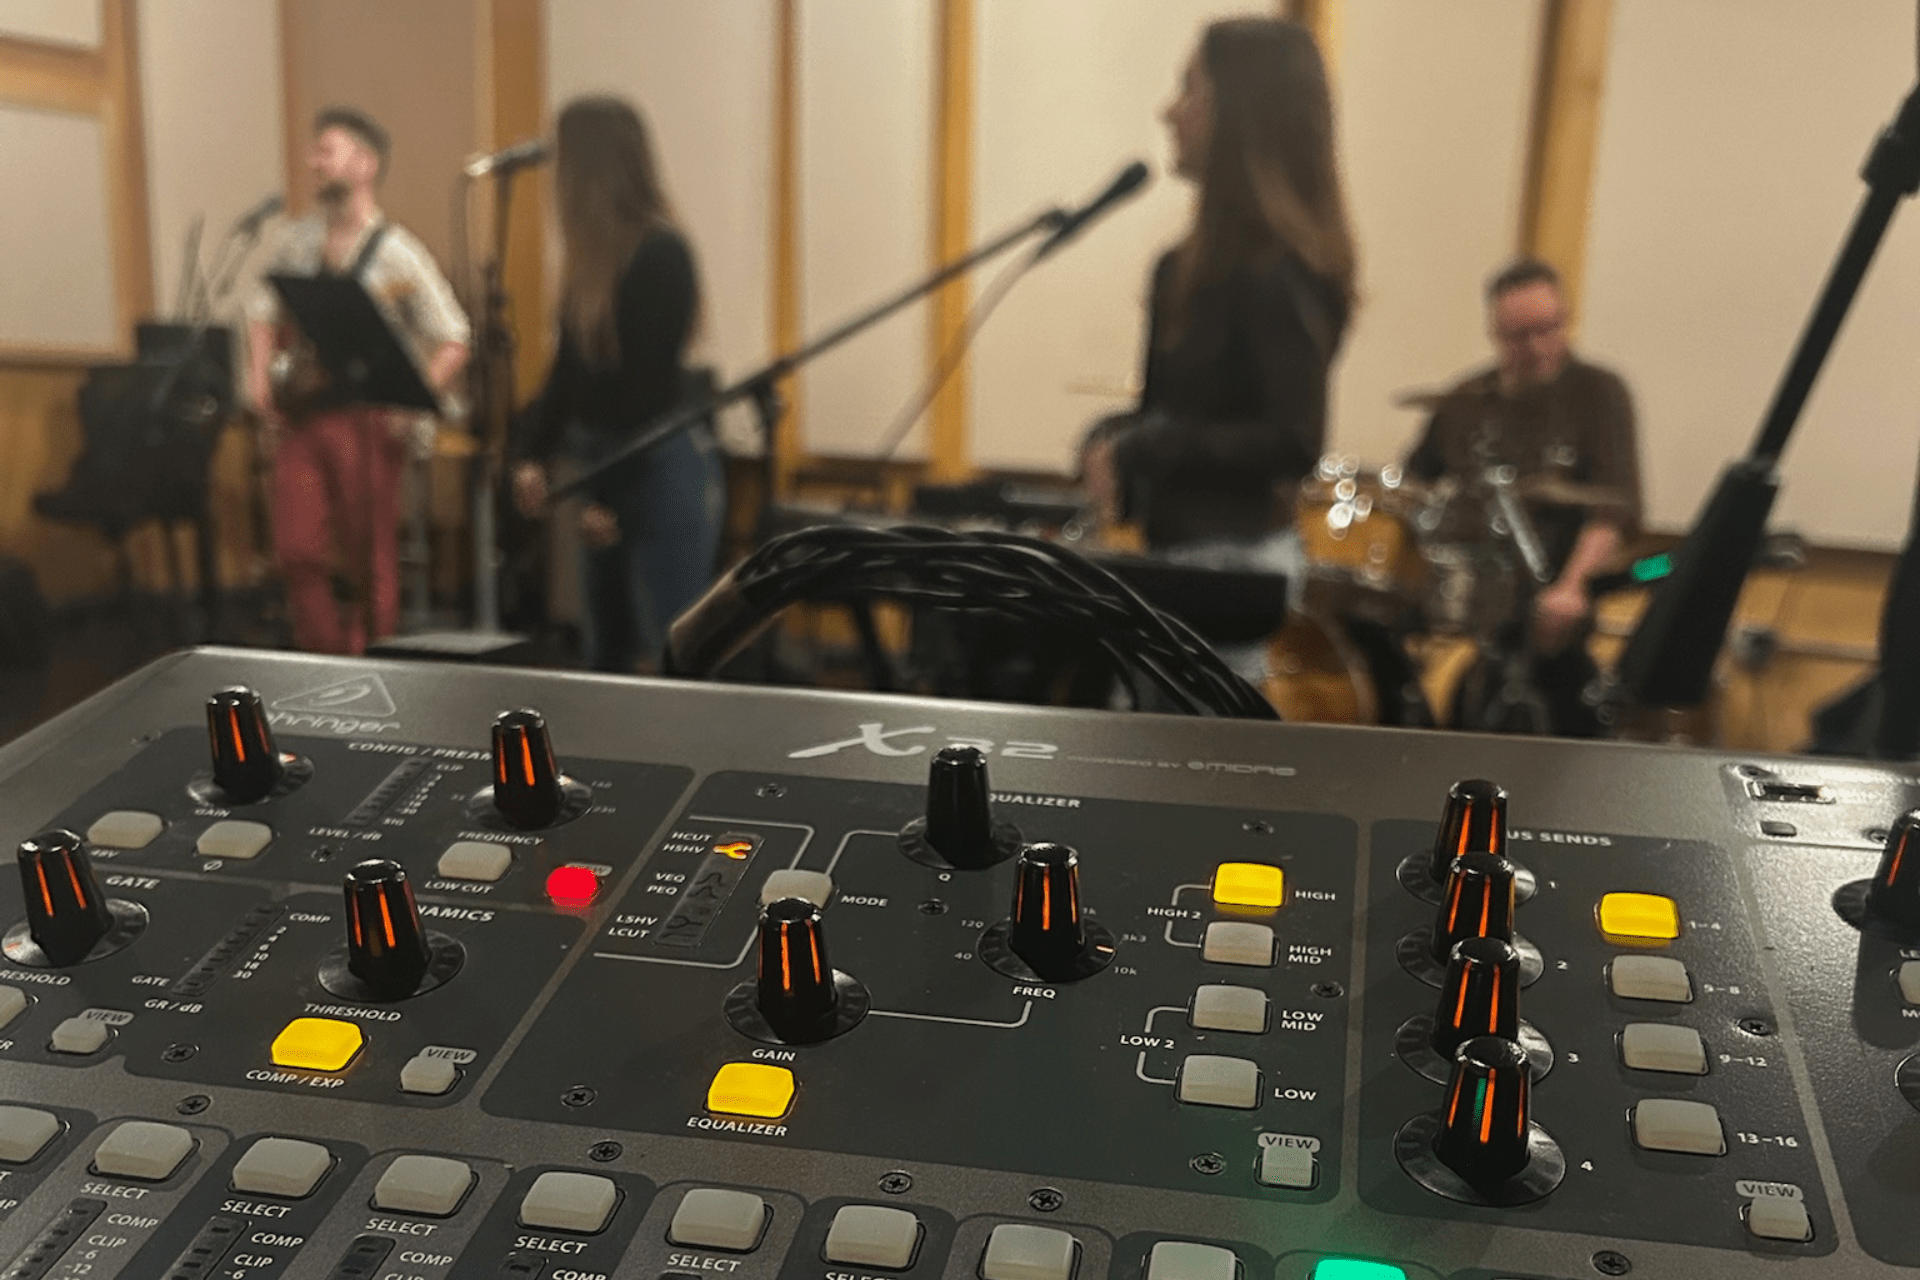
Step #3: Record
For this step, quiet the room and stay consistent. Set mic distance, test levels, and track a short clip before the full take. Fix issues now, not after. Track multiple versions of each part. The keeper usually carries the most feeling. Capture performance and truth, then move on.
Step #4: AB-ing
AB-ing means comparing takes or mixes to hear what works. This step builds your ear fast. Learning how to record a demo boils down to learning how to listen. Switch between versions with fresh ears and note what changes the feel of the sound. Keep the stronger choice and move forward. Learn as you go. Judgment improves with every comparison.
Step #5: Layering
With the main tracks down, it’s time to start layering. Good layers add depth without clutter. They support the hook and lead vocal, without stealing the focus. Add harmonies, rhythm guitar, bass, or light percussion to fill the mix. Keep each layer intentional and let the song breathe.
Step #6: EQ
The EQ shapes the sound of your mix. Start by cutting muddiness, cleaning up the low end, and giving vocals a bit of clarity. Make small adjustments and listen often.You don’t need advanced training to make a clean mix. A little balance goes a long way toward helping your demo sound professional.
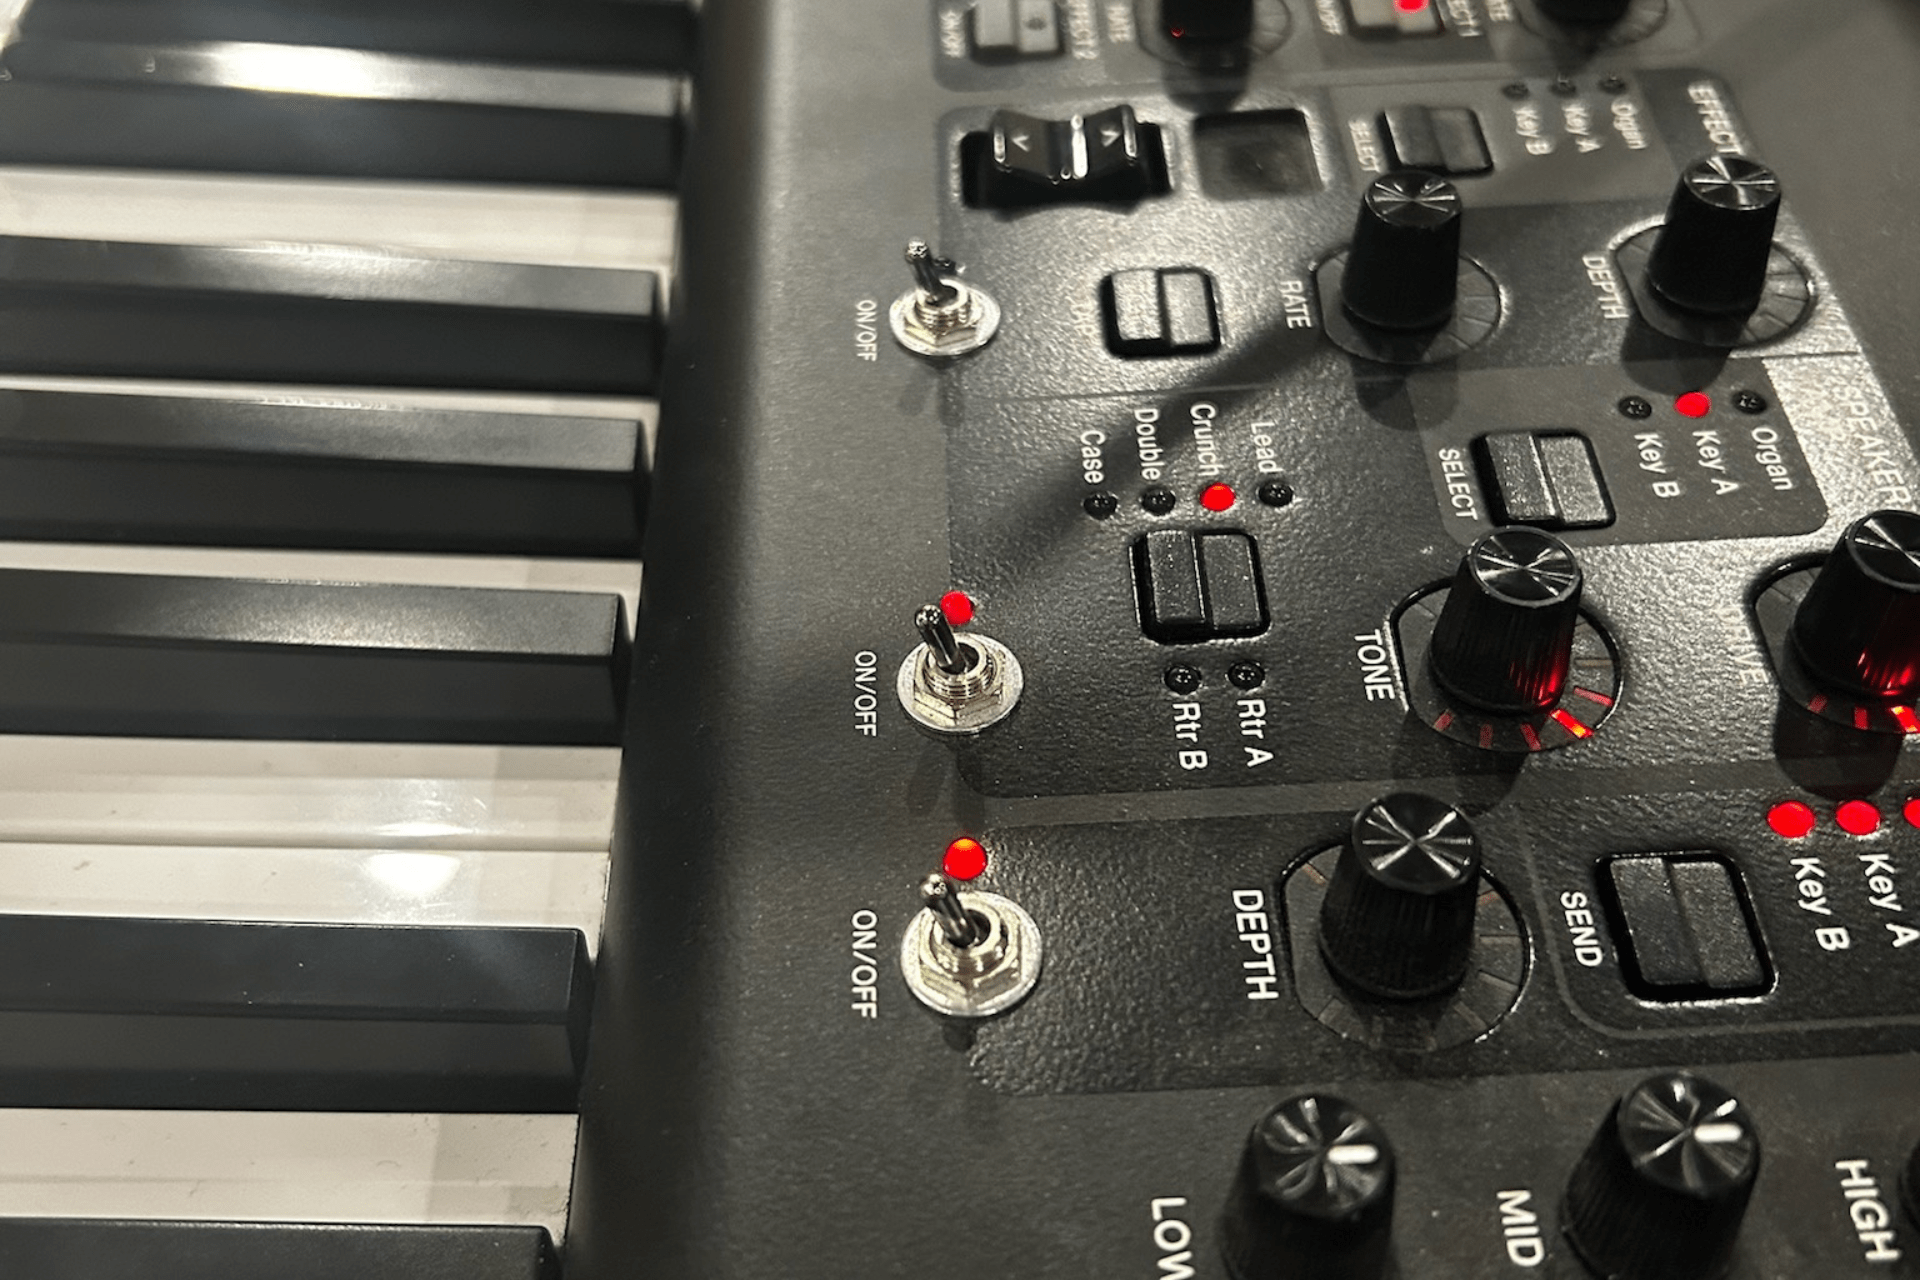
Step #7: Effects
Effects support the story, not hide it. Subtle polish helps your demo feel cohesive while keeping your authenticity intact.
Use reverb and compression with restraint. Keep delays and modulation tasteful. A light touch here turns raw tracks into a cohesive demo that reflects your style. That focus helps people hear you clearly.
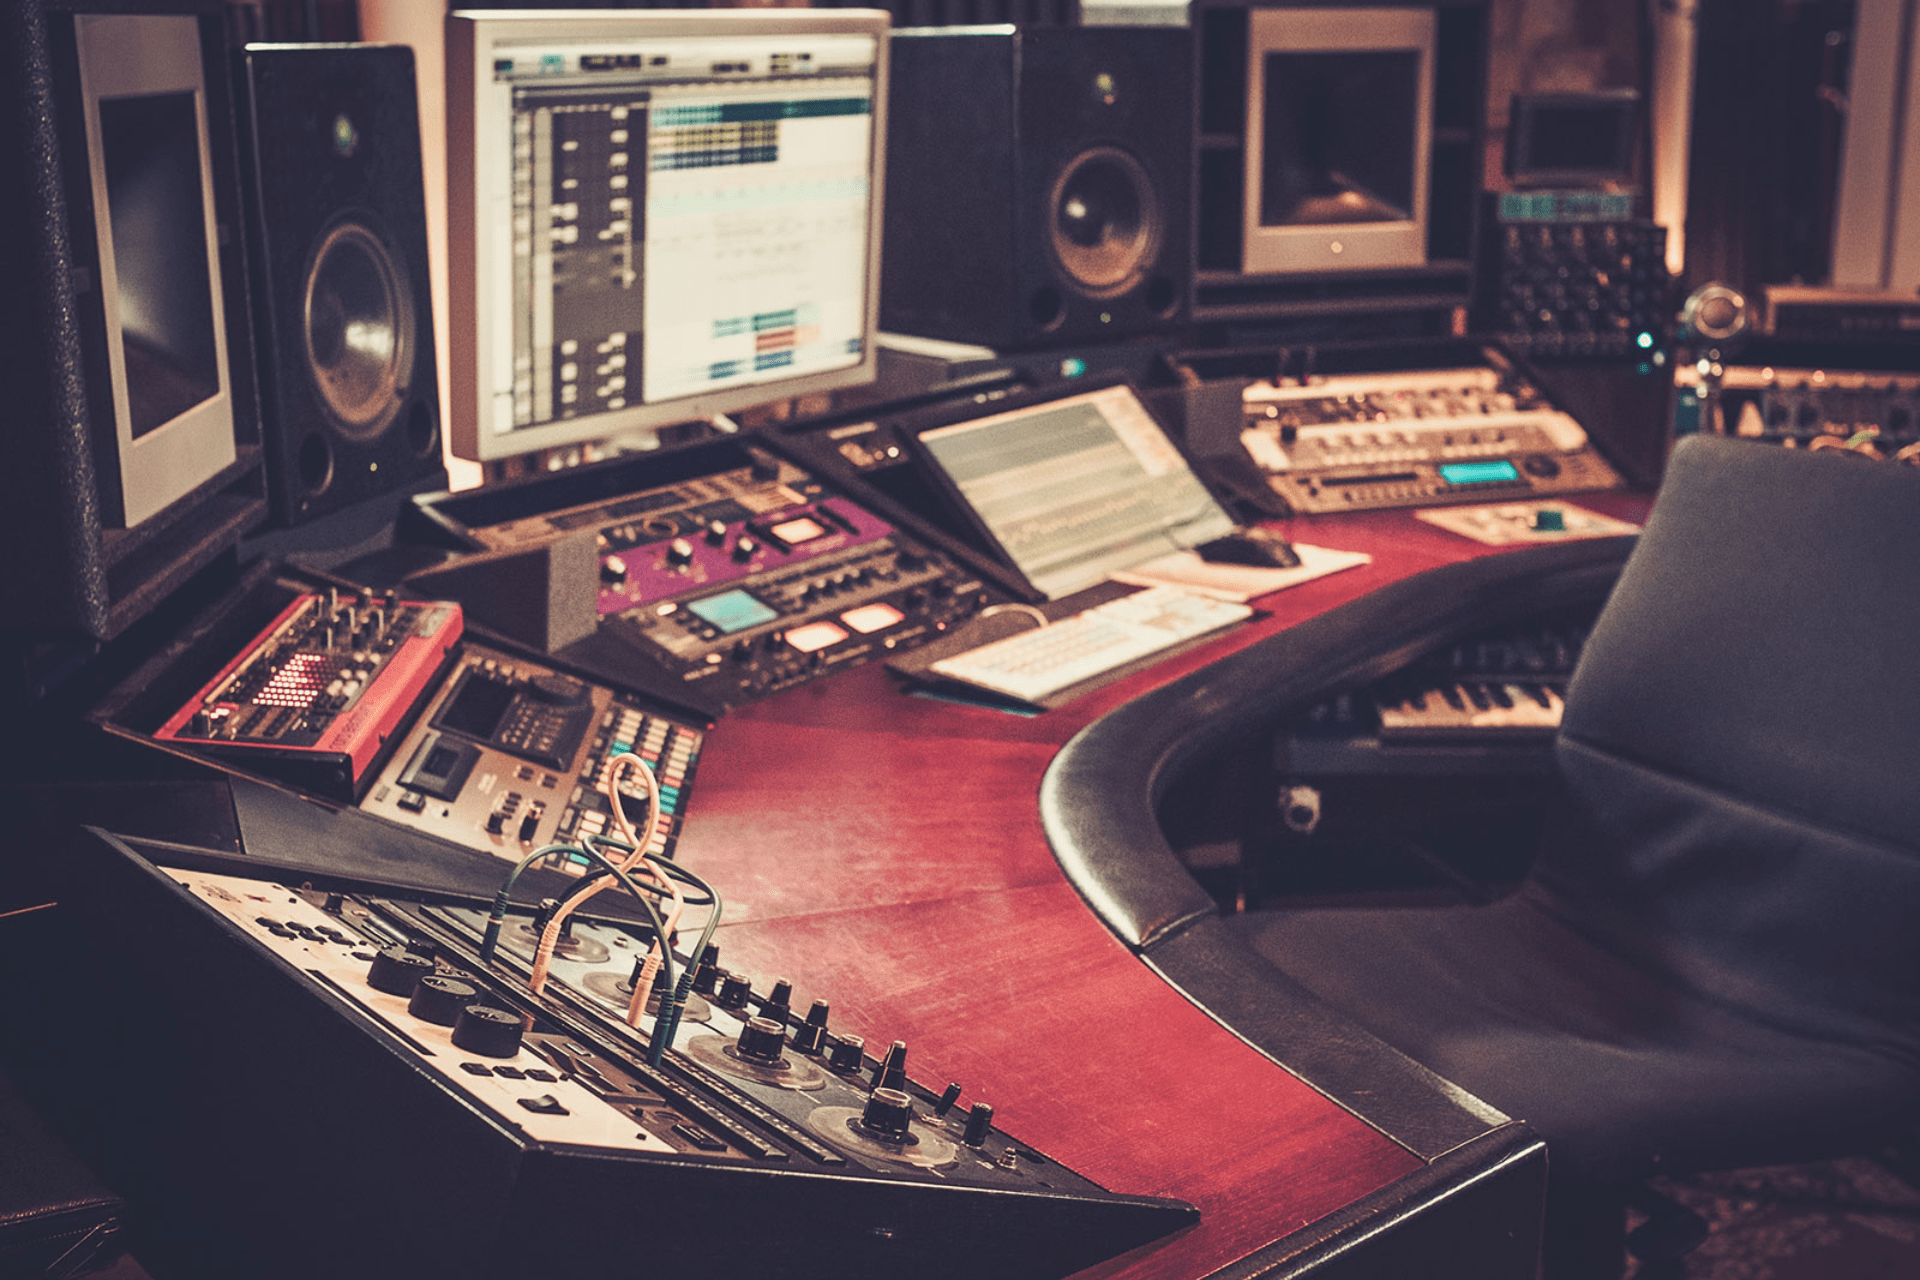
The Best Demo Tools
When it comes to recording your demo, the right tools make the process smoother and your sound cleaner. You don’t need high-end gear to get started. You just need dependable equipment and software that help you stay creative instead of frustrated. Here are a few favorites that balance quality and affordability:
- Microphones: Audio-Technica AT2020, Shure SM58, or Rode NT1-A
- Audio Interfaces: Focusrite Scarlett 2i2 or PreSonus AudioBox USB
- Headphones: Audio-Technica ATH-M40x or Sony MDR-7506
- Recording Software: GarageBand, Reaper, or Audacity for beginners
- Monitors: KRK Rokit 5 or Yamaha HS5 for clean playback
Each of these tools gives you control over your sound without breaking your budget. As you learn how to record a demo, reliable gear lets you focus on performance, not technical troubleshooting.
How To Record a Demo: Frequently Asked Questions
How to start a demo recording?
To start a demo recording, choose one or two songs that best represent your sound. Set up your space, test your levels, and make sure your gear is ready before you hit record. Focus on performance first and polishing it later. The goal is to capture an honest take that reflects who you are as an artist.
How are demos recorded?
Demos are recorded using basic gear like a microphone, audio interface, and recording software. Musicians track each instrument and vocal part, then mix the recordings to create a balanced sound. Whether it’s done at home or with us at Hardstop Records, learning how to record a demo is about capturing creativity clearly.
Where can I record a demo?
You can record a demo anywhere with minimal background noise, from a bedroom setup to a local studio. Many artists start at home using digital audio workstations, while others prefer the focus and quality of a professional space like our studio. The best choice depends on your budget and comfort level.
How to record an audio demo?
To record an audio demo, plan your songs, prep your gear, and record each track cleanly one at a time. Keep your levels consistent and use simple EQ and effects to bring everything together. A well-organized, step-by-step workflow helps you create a demo that sounds professional and ready to share.
Submit Your Demo to Hardstop Records
 You’ve learned how to record a demo, now it’s time to share it. We listen to every submission with an artist’s ear. We know what it takes to get from the basement to the stage, and we’re always searching for new voices ready to make noise in the right way. And we can’t wait to hear yours! Submit your demo to Hardstop Records today. Let’s hear what you’ve been working on.